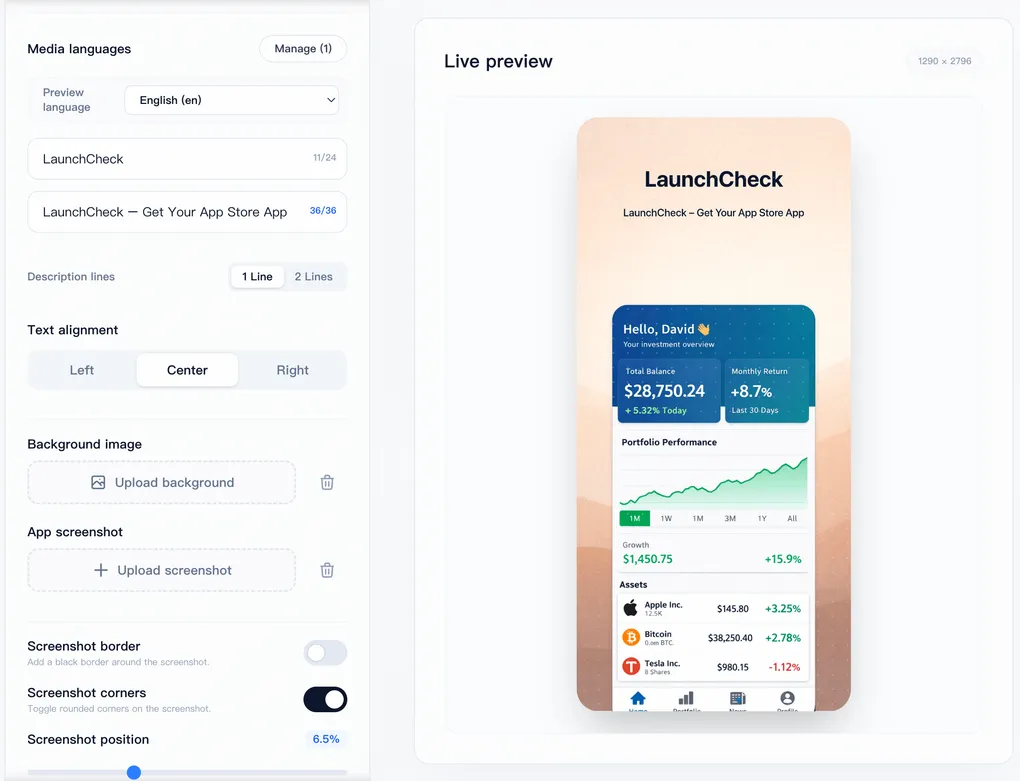
Creating screenshots for the Apple App Store is often the most tedious part of shipping an app.
You have to deal with the 6.5” display, the new 6.9” display, iPad sizes… and if you want to go global, you have to multiply that by every language you support. It’s a nightmare.
In this guide, I’ll show you a workflow to automate this process and boost your App Store Optimization (ASO) conversion rates.
Why Your Screenshots Matter More Than You Think
According to Apple, 70% of App Store visitors discover apps through search. Once they find you, your screenshots are the first thing they see.
A simple screenshot isn’t enough anymore. Top-tier apps use:
- Device Frames: To make the UI look polished.
- Captions: To explain the value proposition instantly.
- Localization: To speak the user’s language (literally).
The Problem: “The Figma Fatigue”
Usually, developers or designers create a massive Figma file. It works fine for one language. But the moment you need to support English, Spanish, Chinese, and Arabic:
- You have to copy-paste text 50 times.
- Text length varies (German is long!), breaking your layout.
- Exporting 40 images manually takes hours.
The Solution: Automating Screenshot Generation
I built a tool specifically to solve this problem. It’s called LaunchCheck Screenshot Generator (link to your tool), and it’s designed for developers who want professional results without the design hassle.
Key Features
- Auto-Sizing: Just upload one background image, and it automatically adapts to all required App Store sizes (iPhone 6.5”, 6.9”, etc.).
- Multi-Language Batching: This is the killer feature. You can toggle between languages, input your translated text, and export all locales at once.
- Live Preview: See exactly how your text fits on the latest iPhone 16/Pro device frames.
- Safe Areas: The tool shows you the “Safe Area” (dashed lines) so your text is never hidden by the notch or home indicator.
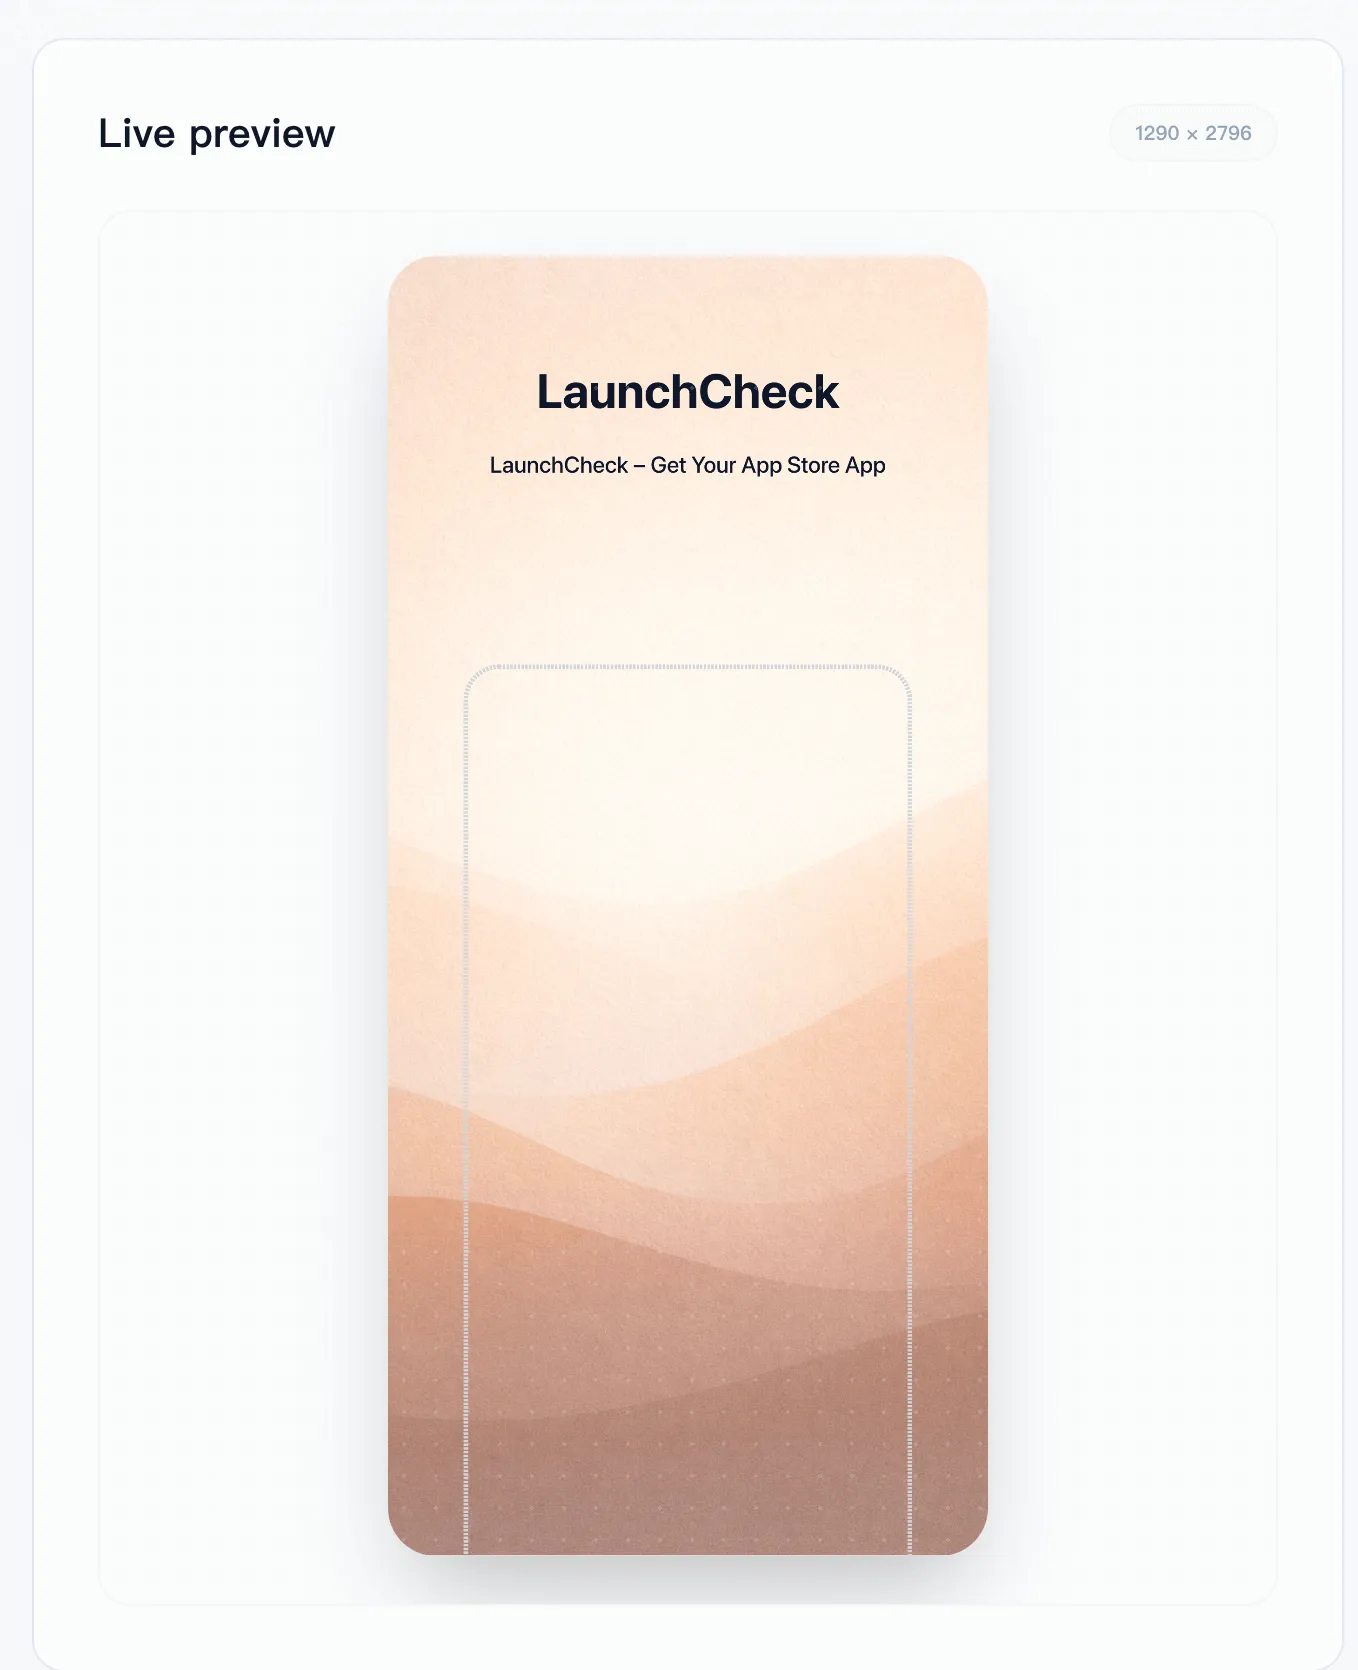 (Use the screenshot you showed me here)
Step-by-Step Guide
Here is how you can generate your assets in under 5 minutes:
Step 1: Choose Your Template
Head over to the Generator Tool. Select the base device size (e.g., iPhone 6.9”).
Step 2: Upload Assets
- Background: Upload a clean abstract background or a solid color.
- Screenshot: Upload your raw simulator screenshot. The tool will automatically wrap it in a device frame.
Step 3: Manage Languages
Click on the “Manage” button next to “Media languages”. Select the languages you want to support (e.g., English, Chinese, Japanese).
Pro Tip: Don’t just translate words. Localize the meaning. Make sure the benefit is clear in every language.
Step 4: Add Copy
Type your title and subtitle. Notice how the tool handles text alignment. If you are targeting Arabic or Hebrew, the tool supports RTL (Right-to-Left) layouts automatically.
Step 5: Export
Hit the download button. You will get a ZIP file containing perfectly sized images, organized by language, ready to be dragged and dropped into App Store Connect.
Conclusion
Don’t let asset creation slow down your launch. By automating your screenshot workflow, you can spend more time improving your app and less time resizing rectangles.